Hair Methods
There are a couple of ways of making hair. The two most prevalent methods for real-time use are hair cards and sculpted hair. Particle hair is also quite commonly used for offline rendered content. An advantage that hair cards and particle hair have over sculpted hair, is that they can more easily be animated by hand or jiggle physics, that’s not to say though that sculpted mesh based hair can’t also be animated with a proper rig setup.
In addition to choosing what hair method to go with, there’s also the choice of what shader style to use, like one that is more matte or one that makes use of things like anisotropic reflections. Depending on that, different texture maps will be needed.
If you’re not quite sure yet what method to go with, then take a look at these two playlist, featuring many different methods of creating hair.
Hair creation playlist (Cards, Particle, Cruves, SubDiv Modeling, Shaders)
Hair creation playlist (Sculpting)
And here are some articles where interesting hair creation workflows are covered:
- Pisciasa Character breakdown by Phung Dinh Dzung
- Hair skinning with Geodesic Voxel by Phung Dinh Dzung
- Another breakdown by Phung Dinh Dzung
- https://80.lv/articles/creating-hair-for-real-time-game-characters/
- https://80.lv/articles/creating-hair-for-real-time-projects/
Useful Software for Making Hair
-
Hair Strand Designer is a great software for creating high quality realistic hair cards. But less useful for more stylized approaches.
-
Blender is exceptionally good for creating particle hair, since the 3.3 update. And is also very good for creating hair cards or sculpted hair through the use of either brushes or curves.
-
XGen is a Maya hair engine, good for making particle hair
-
ZBrush is also quite a good choice for sculpted hair through the use of either brushes or curves
Hair Blockout
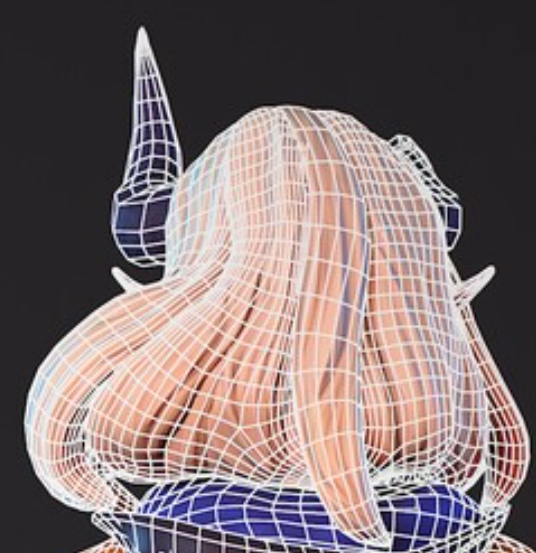
Every haircut, no matter the method, should start with a blockout sculpt. The purpose of this blockout is to act as a visual reference for the haircut and depending on the method maybe also as a snapping point for curves for example. The most important thing to get right with the blockout is the silhouette and overall volume. While sculpting it, try sticking with low subdivision levels and occasionally turn on whatever silhouette mode your software has.
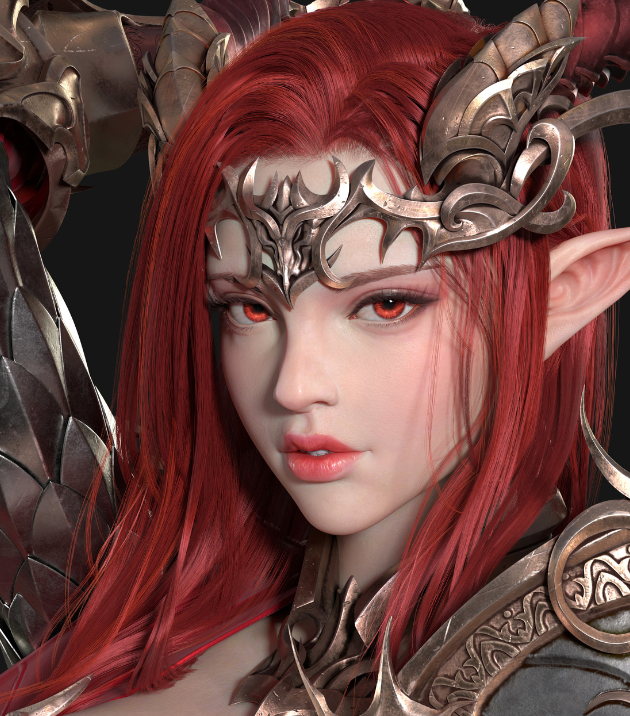
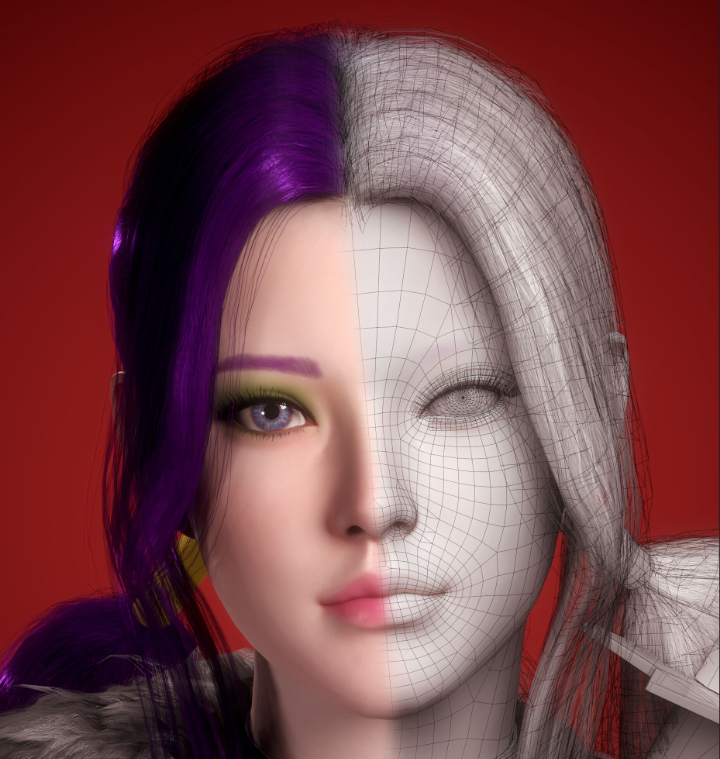
Sculpted Hair

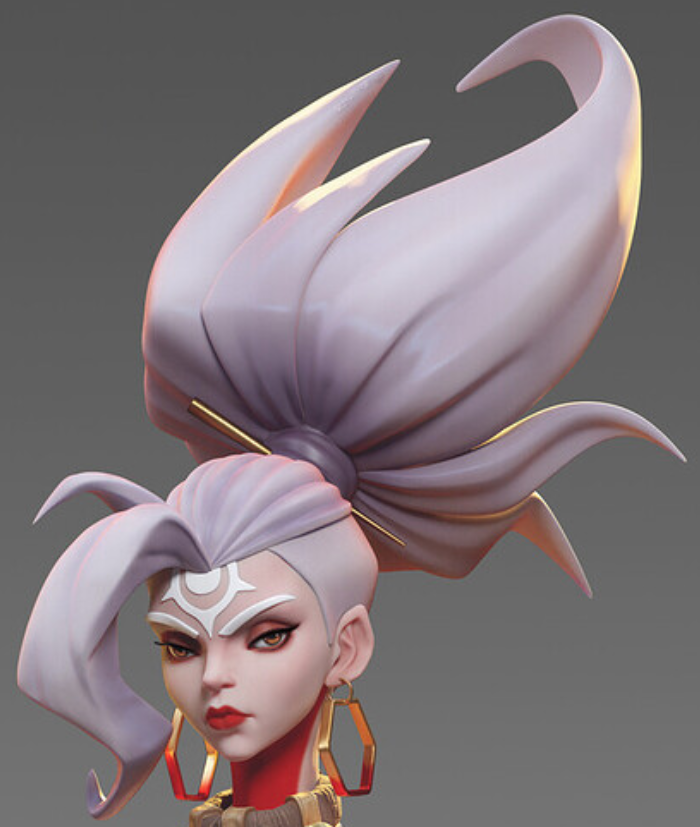


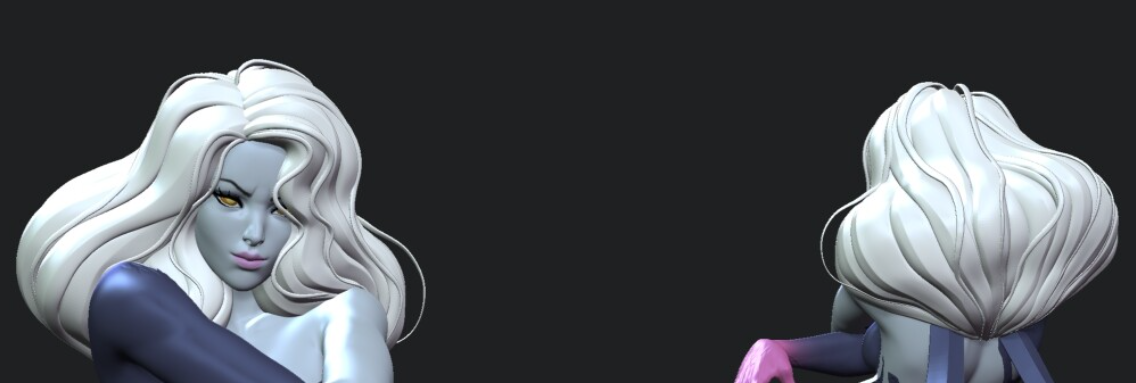 some examples by other artists
Sculpting Hair Playlist:
Hair Cards
Hair cards are a hair method where a variety of strand texture maps are mapped to a flat mesh plane. These hair planes are then subdivided and placed around the head while moving vertices to fit the shape of the head and haircut.
To avoid repetition in textures used for strands, a couple of materials are created, each using different hair stands that can then be easily chosen from. This allows one to be very flexible, as one can at any point decide that one wants to replace all the hair stand types with other or even more types.
Hair cards are great for games because of its low tris count and working well with physics and animation. The poly count vastly depends on hairstyle, can range from 1k tris to 10k tris.
| Tris | Character |
|---|---|
| 100k | Alloy’s hair from Horizon Zero Dawn |
It’s used for both hyperrealistic and stylized hair.
To-Do: Add industry examples
Creating Hair Cards
Different Ways To Make Hair
There are a couple of ways of getting hair cards. The easiest is to look for pre-made ones. Another good way is to use software like Hair strand Designer. Software like this creates all different maps for you. The last and most time costly way is to use particle systems to create hair and then to render some of the maps and use PS or other software to generate the others.
What to Put on the Hair Card
The hair card contains the hair, but also eyebrows and eyelashes. For hair strands, there should be the following:
-
(1) Main Hard
-
(2) Big Breakup
-
(2) Small Breakup
-
(2) Transitional Hair (Helps connect hair to head by placing them at borders)
-
(1-2) Flyaways (These wild hair strands help break the silhouette)
-
(0-1) Scalp Card (Scalp Cards are optional because the scalp hair can also be baked into the head texture. But if there should be areas where one see a bit of the skin below the hair, then scalp cards are the way to go. Scalp Cards are also more flexible because the character’s hairstyle can be changed dramatically without having to re-bake scalp hair into the body texture map)
Needed Texture Maps
Creating hair card texture maps (videos)
Creating maps
Creating maps in Substance Painter
Full process
The textures that are most essential are: Alpha, Color, Normal, AO, Gradient
But to get the desired hair look, there are many others that are often used.

| Map | Explained |
|---|---|
| Mask | Decides which parts of the hair are rendered and which not(so only black and white texture map). In Blender this would be alpha clip and in Unreal Engine masked blend. This is the best alpha mode performance wise. |
| Alpha | Decides which parts of the hair are rendered and which not. The difference to the mask however being, that here values between black and white are accepted. In Blender this would be alpha hashed and in Unreal translucent blend. |
| Mask and Alpha synergy | There is no way of getting around using an alpha texture, however, one can make the performance better by also making a mask texture. The mask texture then exclude a good amount of the texture from being rendered which would have used extra performance. |
| - | - |
| Color (length) | For albedo color |
| Color (group) | |
| ID grayscale | |
| ID color | |
| Gradient | Also often referred to as root and is responsible for giving the hair gradients that run from the root to the tip |
| - | - |
| Normal | Explained in texture page. |
| AO | Adds shadows into crevices and to those spots where shadows should be |
| Depth | Can be used for parallax displacement mapping to give the hair more depth, or just like AO add a tint for some general depth for better performance than AO but not looking as good. |
| Flow | 2D vector maps similar to normal maps. However, unlike normal maps, the data doesn’t represent a surfaceses normals, but rather the general flow from one direction to another. This can create many effects, but for hair it’s used for anisotropy highlights. |
Placing Hair Cards
Strategies
- It can be quite helpful to first sculpt a sphere into the rough shape and silhouette of the hairstyle. It makes placing the hair cards a lot quicker and easier.
- Next, make sure no bare skin of the scalp will be visible. This is important because unlike real hair, one doesn’t have the luxury in 3D to give the character millions of hair strands. The two methods of achieving this are. Placing a very dense “base” hair card on the head, that covers all the areas where hair roots will be. Or another popular method is to include the base hair that covers the scalp directly into the head texture map by baking or texturing it in. Both methods have their advantages and disadvantages.
- While placing the hair cards, one can move the hair either in object or edit mode
- While placing the hair cards, slowly start adding loops horizontally and vertically. Curving the mesh around the head is important to make this method really look good, flat hair card meshes will result in bad looking hair
Things to watch out for
- Use as much of the hair strand as possible
- Watch out that when moving the vertices, you don’t move them in the UV space (In Blender sliding vertices will also move them in UV space and should thus be avoided)
- Never extrude the hair card, only add in new detail with loop cuts
- Keep a UV window open and try to make all faces in UV space have equal sizes
- Try to have hair cards not clip through each other
Rendering Hair Cards
Things to Check Before Rendering
- Use a clean studio HDRI and no other light sources. Rotate the HDRI so that the main light source is coming from the other side of the camera
- Make sure the camera resolution is 2048 x 2048 or 4096 x 4096
- Render with the correct image extension (more about that here)
- Do not render with transparent background (the alpha texture is for that)
- Try to keep the render settings high
- In Blender use Cycles. In Maya use Renderman or Arnlod
- Make sure to turn off all form of color correction (Blender: Color Management, Compositor)
- Place a flat colored neutral gray (#7F7F7F) background behind the hair (this is done to help the anti aliasing by bouncing softer light and thus producing crisper edges)
Rendering hair cards (videos)
Procedural render setup
Render setup
Render setup
Curve & Array Hair
This method consists of a couple of key concepts. Instead of placing the hair, a curve is placed which generates a hair strand in its place which follows the curve’s shape. This makes it very easy to move and twist the hair strands, as one doesn’t have to work about topology. To display the hair strand along the path of the curve a shape is used, in Blender this shape is represented by a circle curve. This shape is then used by the curve to generate the hair mesh. This means that one can on a whim change the shape of the hair.
Mostly one will have a couple of different shapes to bring variety into the haircut and assigns the shapes individual to curves.
This method also easily allows changing the topology resolution of the hair.
Creating curve & array hair in Blender
- To control the hair one can use bezier curves or path curves
- Enable Curve Handles
- Add Circle Curve rotate on x by 90° (When scaling apply scale, but do not apply rotation or location)
- Set bevel profile to the circle curve under curve Object Data Tab>Geometry>Bevel>Object
- To change the hair shape edit the circle curve in edit mode
- Ctrl + T to change rotation, Alt + S to change scale, Alt + S + 0 for perfect tip
- Lower Curve and circle curve resolution to around 3 and use sub d mod on the hair curve
- Make sure to use resolution increase instead of SubDiv on Bevel Profile object for hair curve
Particle System Hair
Particle Hair can be very time-consuming and frustrating to make, as well as not being the best option for real-time use. It can however be quite useful for making hair cards. Particle hair especially shines with a Hyper-Realistic art style and when the hair will be involved in a lot of physics heavy actions like wind, fighting and other hair interactions.
Though particle hair is currently not that real-time friendly, that definitely will change soon, it’s the hair method which has the most space to improve, both in performance and ease of use.
Software with particle hair support
- Blender
- Marmoset Toolbag (XGen)
- Maya(XGen)
- Unreal Engine
- Unity
🚧Work in Progress🚧
Hair texture map setup in Blender:
-
Roughness: Color map > Color Ramp > P. BSDF
-
Alpha: Alpha map(Alpha plug) > P. BSDF (Blend Mode and Shadow Mode to Alpha Hashed)
Particle Hair in Blender (pre 3.3):
- Add part of head to vertex group
- Subdivide particle close to scalp with root select and +
- Change Number, Length and Segments
- Turn on B-spline
- In particle edit mode increase path size
- While combing change distance and preserve root distance (Distance: The distance to keep from the Emitter)
Children:
- Change Clump and roughness
Finished hair card textures & hairstyles
If you’re using hair cards and don’t want to create the texture yourself, or want to pick from already created haircuts, some places to look are: